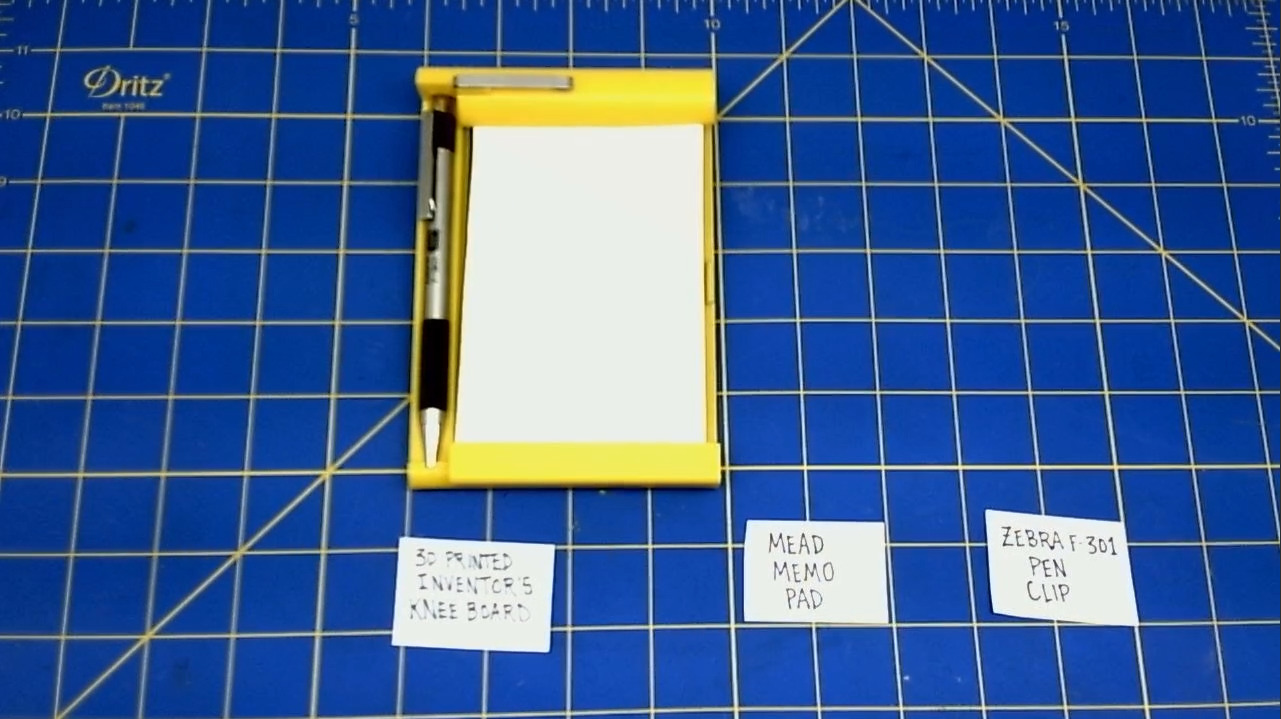
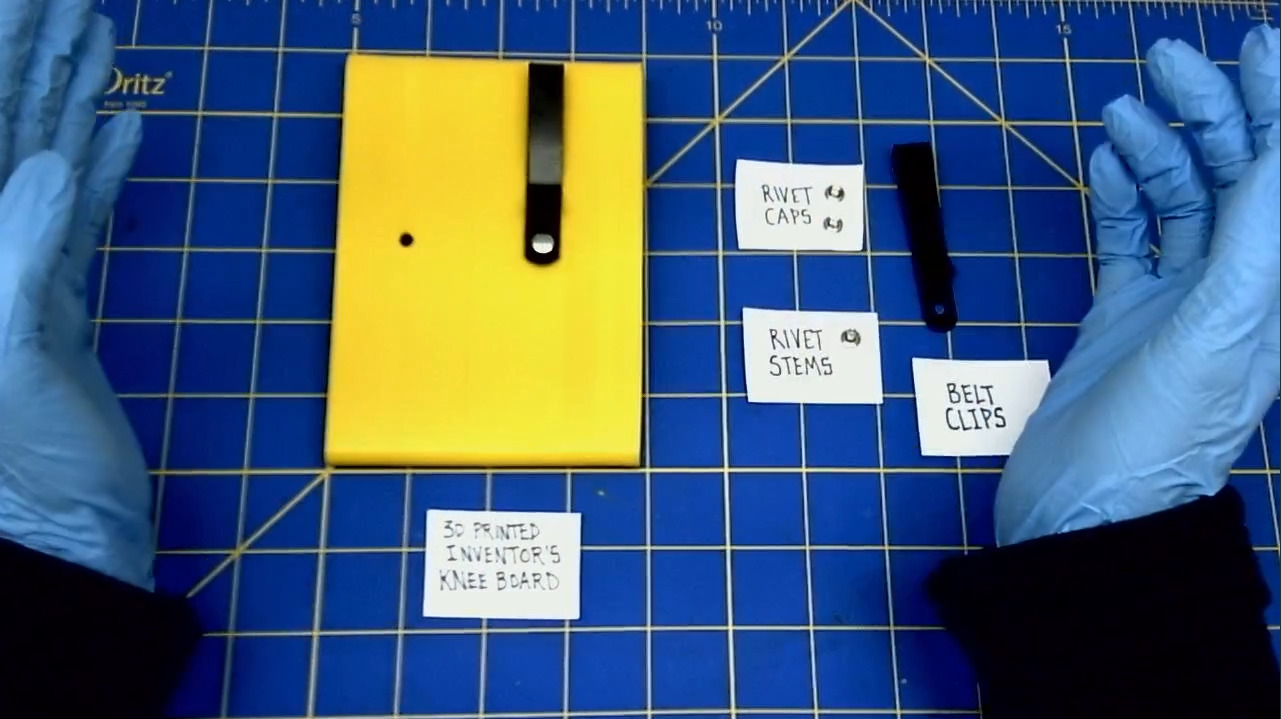
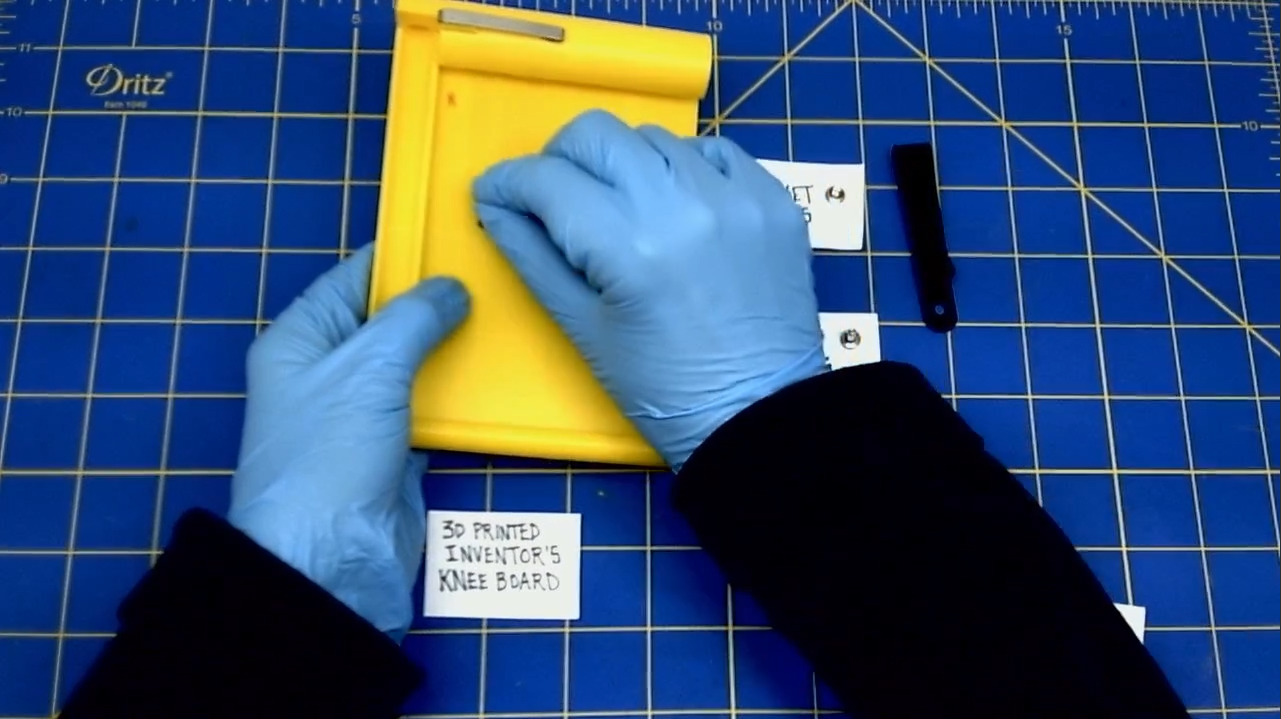
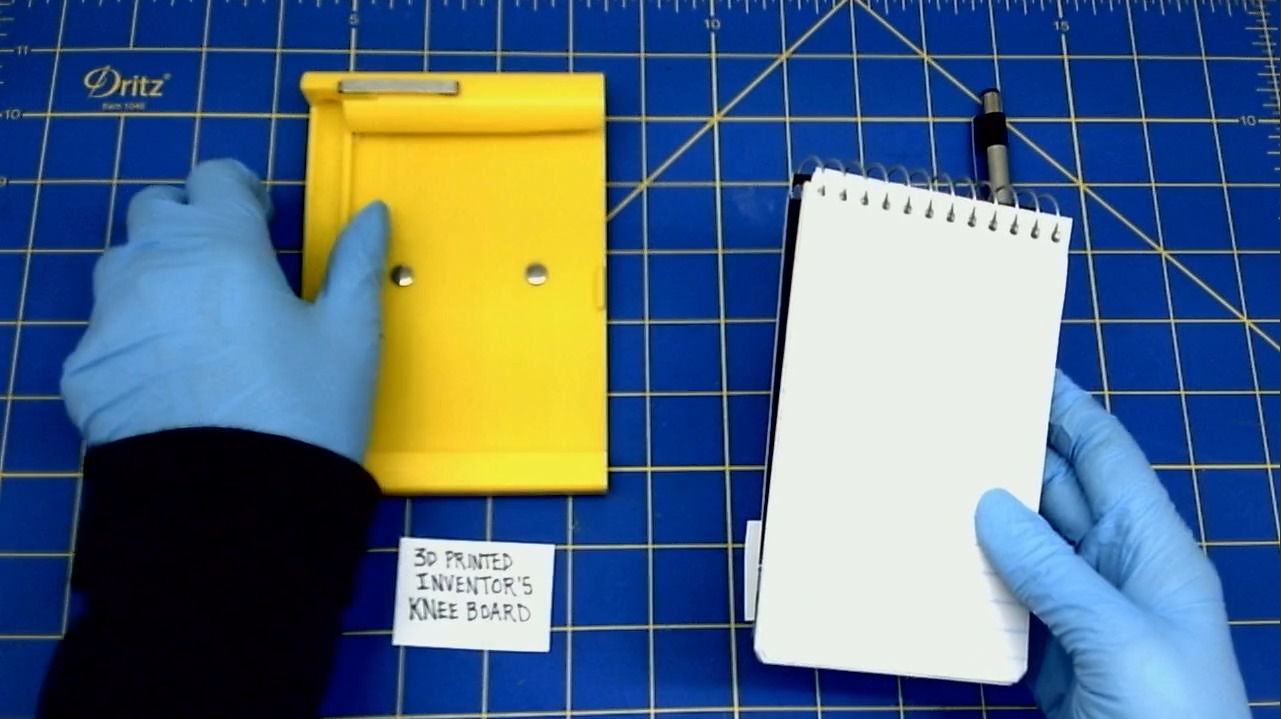
Kneeboard 2023 Assembly
Table of Contents
I. PREPARATION
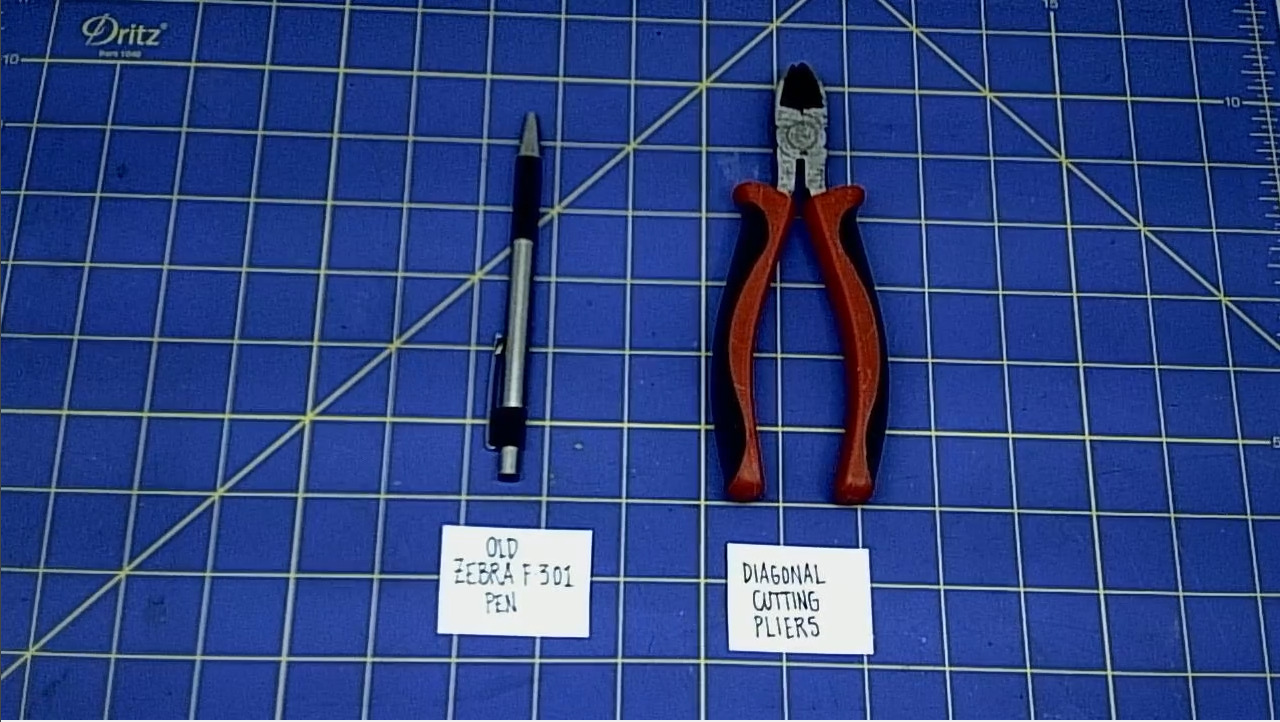
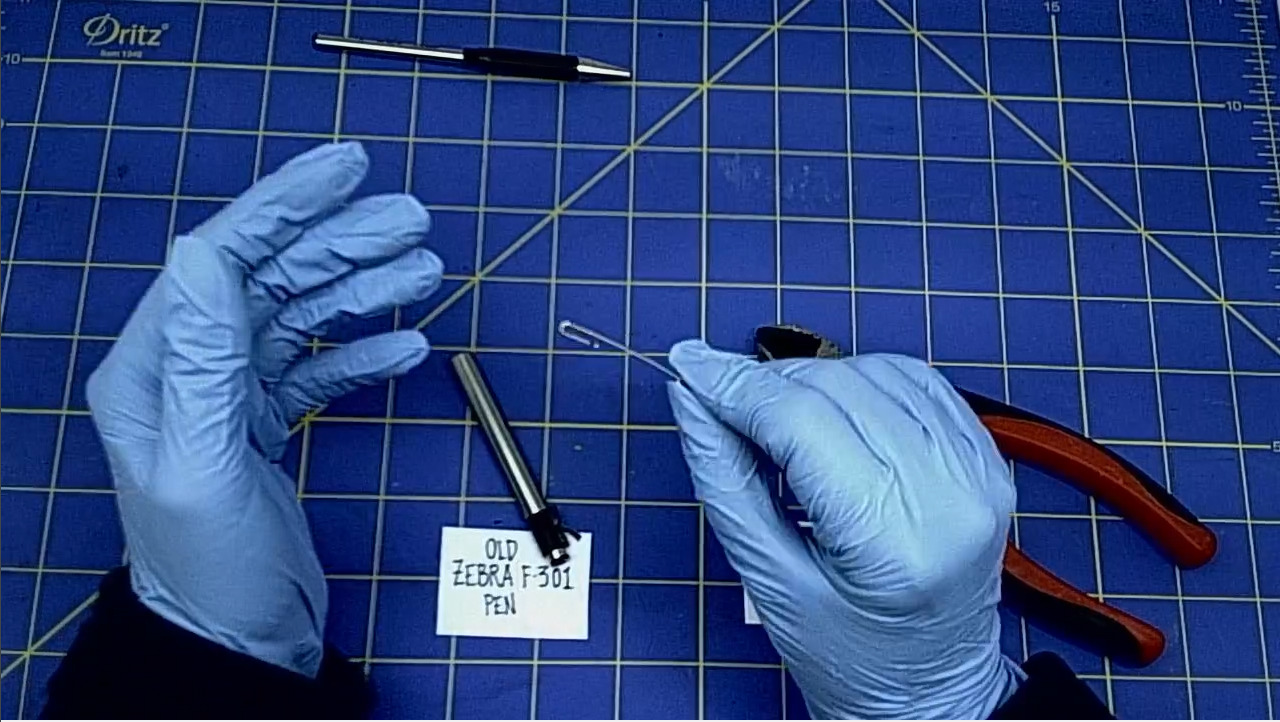
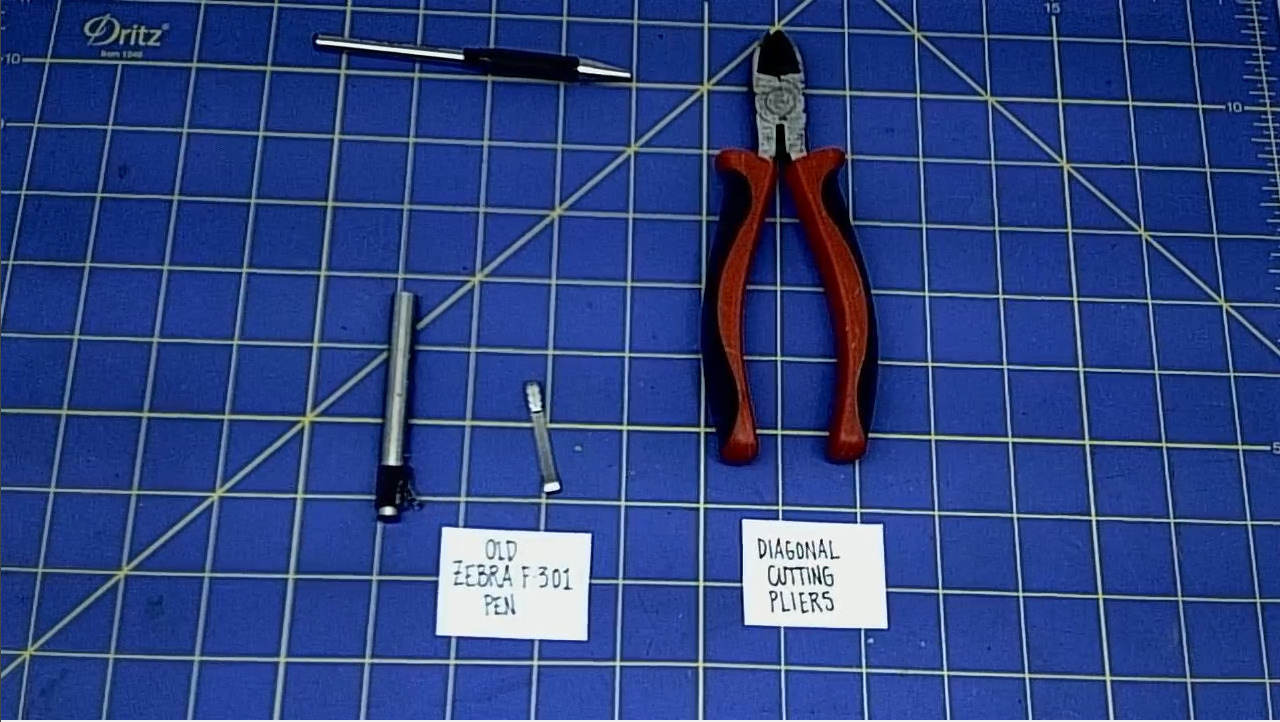
Remove the clip from the old ZEBRA F-301 pen.
-
Disassemble the old ZEBRA F-301 by unscrewing the steel barrel with the clip.
-
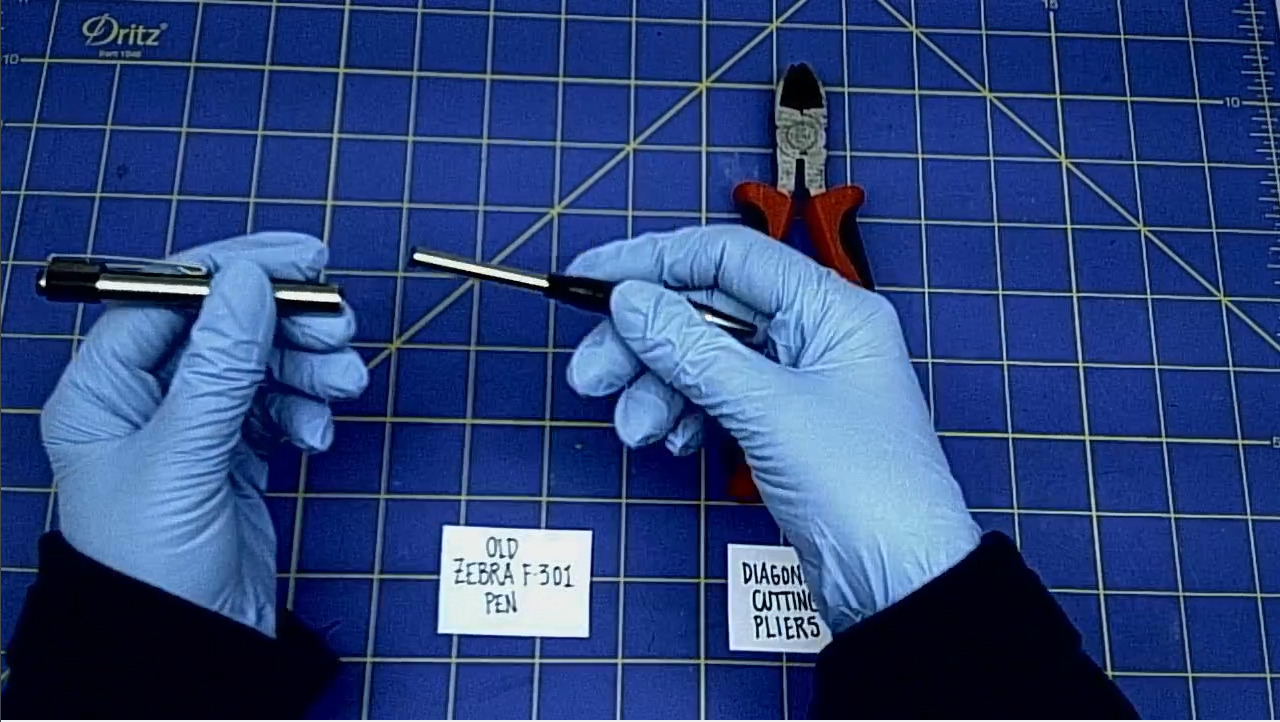
Use the Diagonal Cutting Pliers to cut the clip off of the old ZEBRA F-301 pen. Cut the plastic part that is holding the clip.
- This is usually the hardest part of this project. Because the ZEBRA F-301 pen is so well constructed, it may take a bit of force to remove the clip from the old pen..
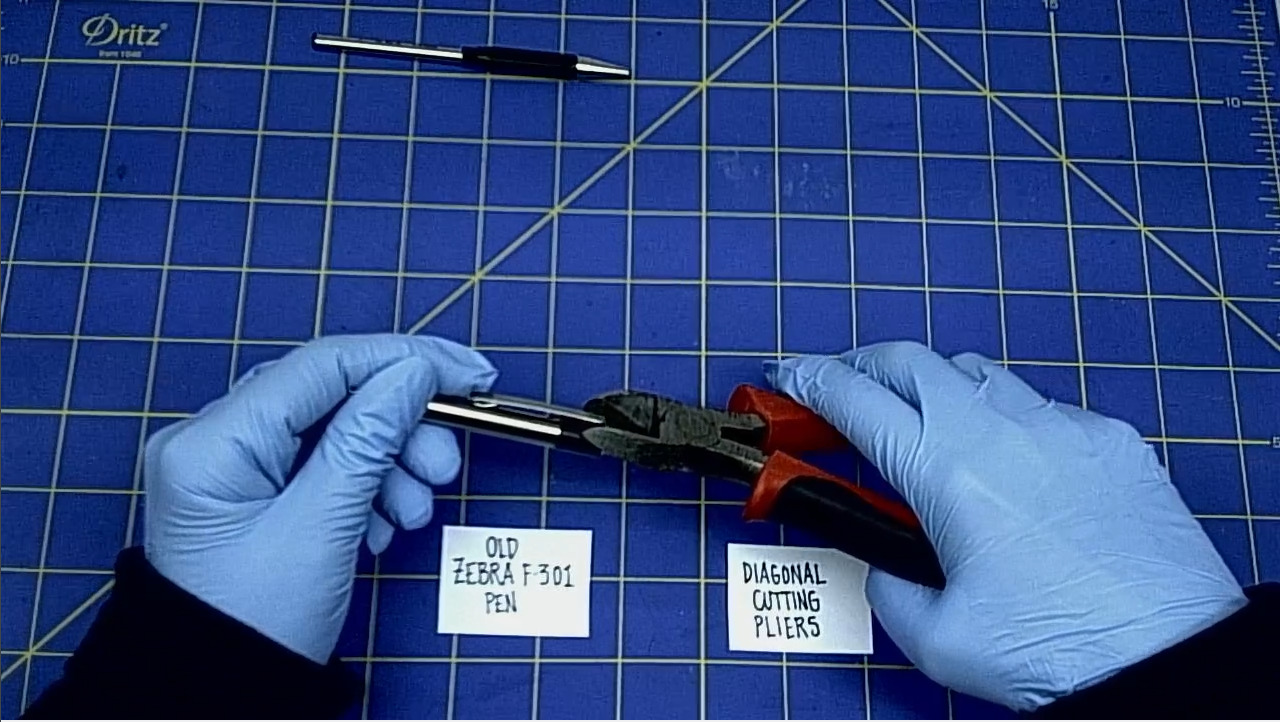
- This is what the clip looks like, once it is out of the pen.
- Good job.
II. GLUING PARTS
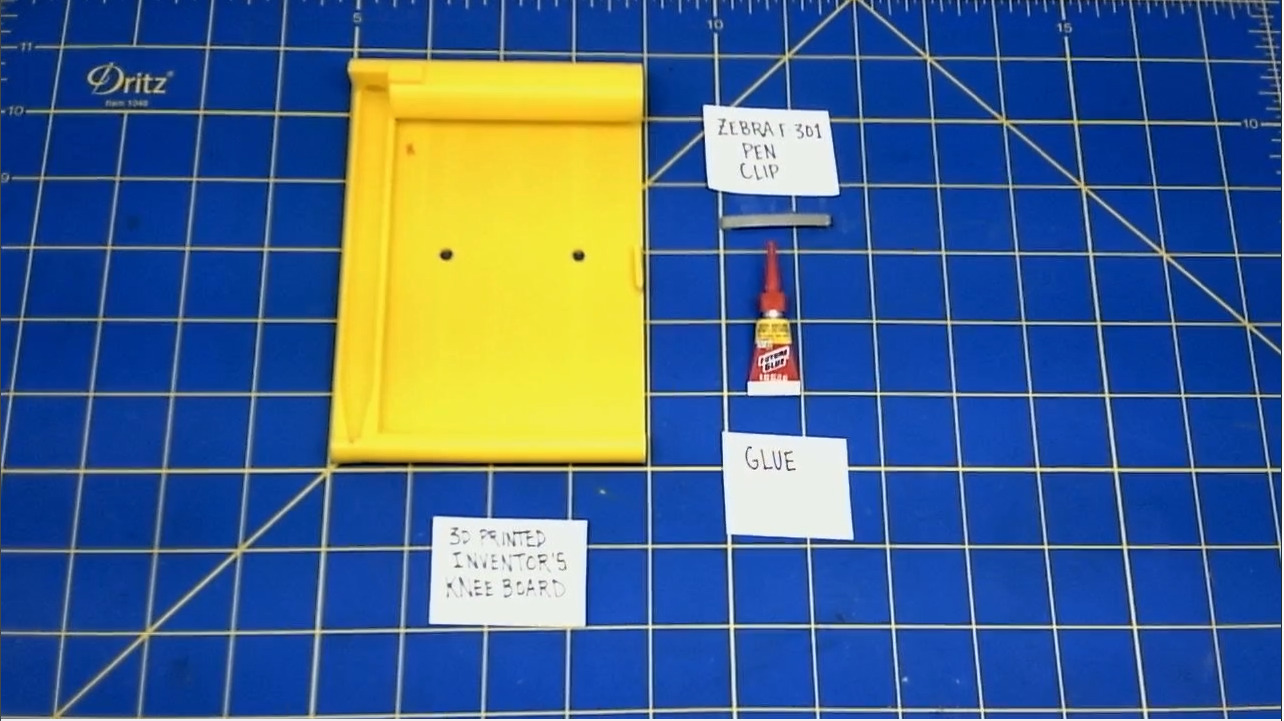
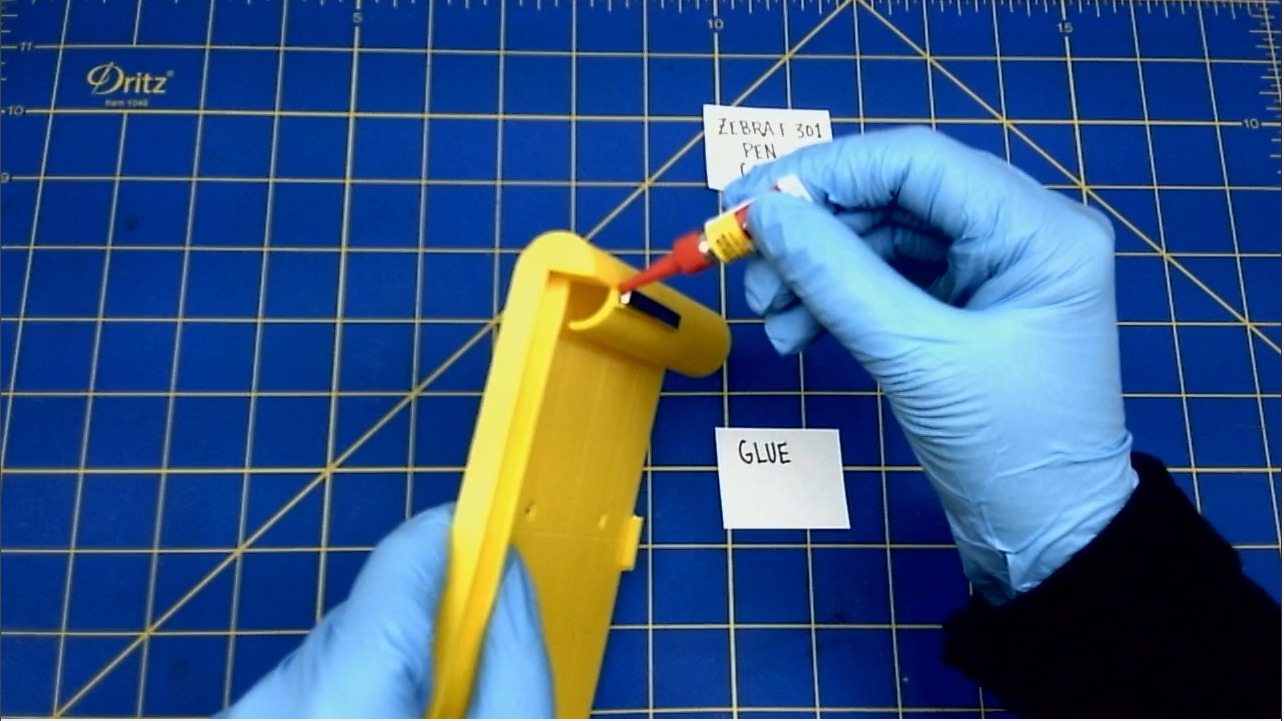
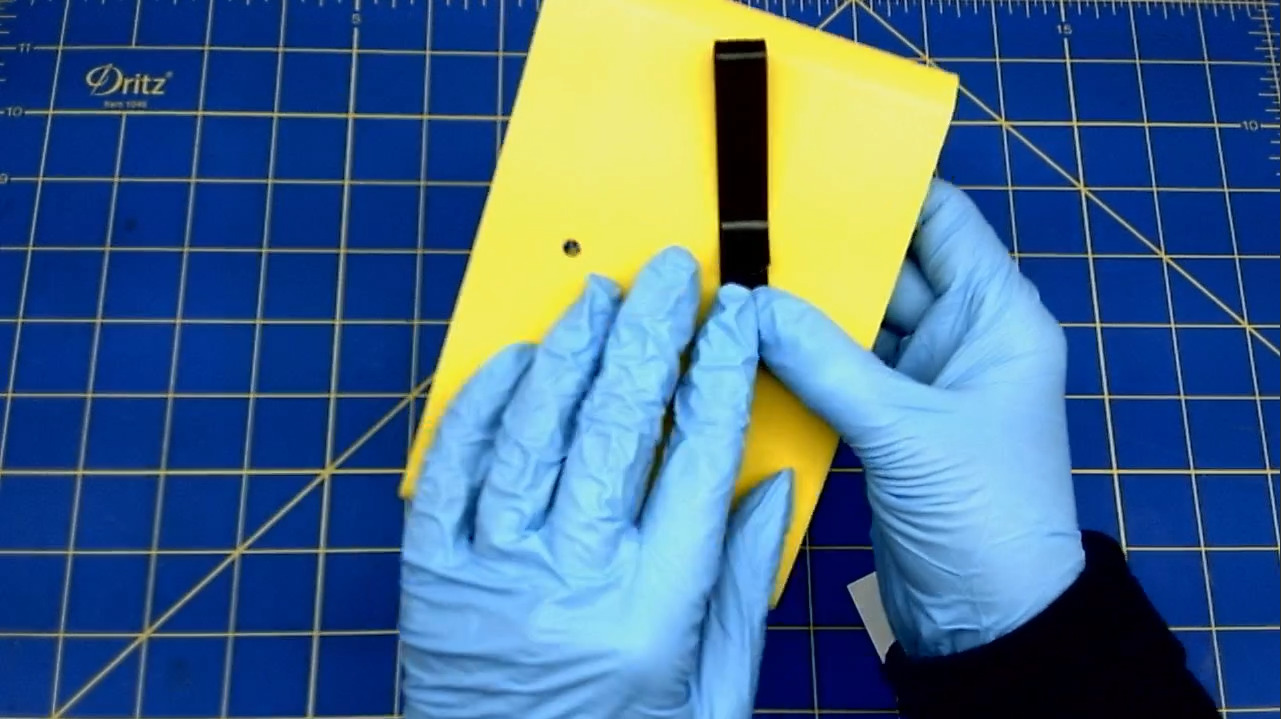
Install the clip of the ZEBRA F-301 pen on to the Knee Board.

- Slide the clip into the hole on the Knee Board.
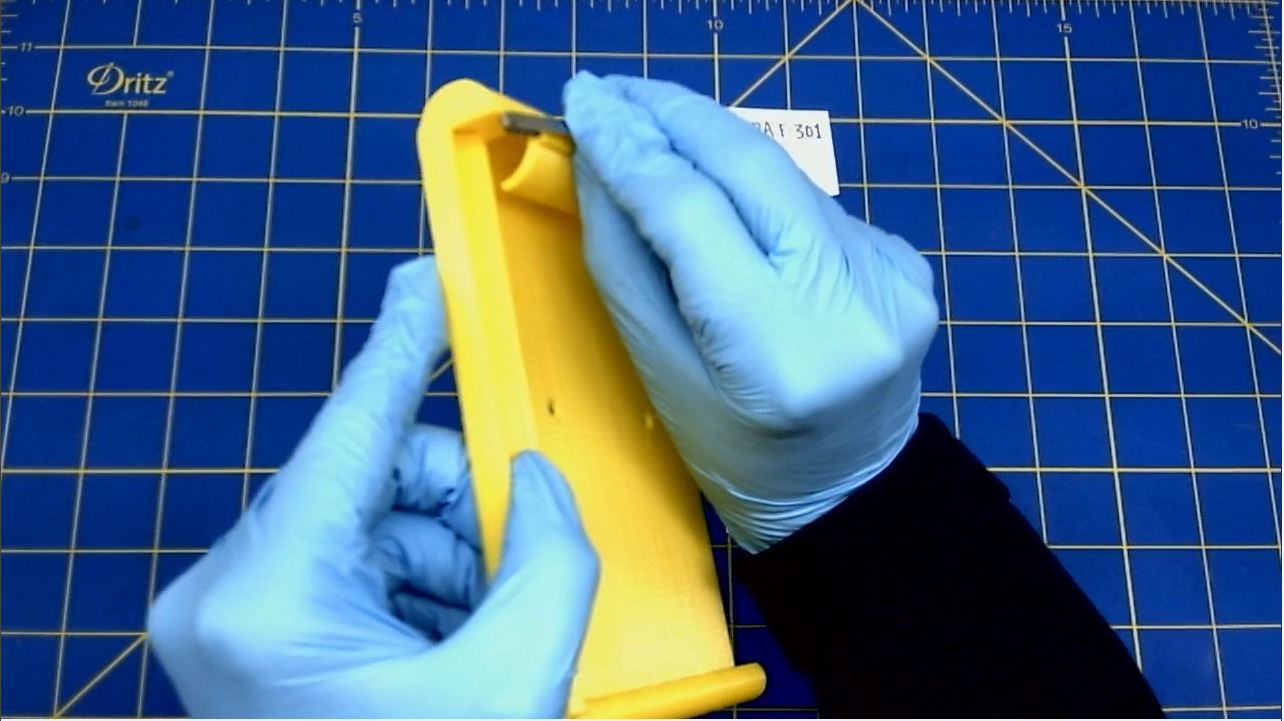
- It will "click" into place, when you apply pressure.
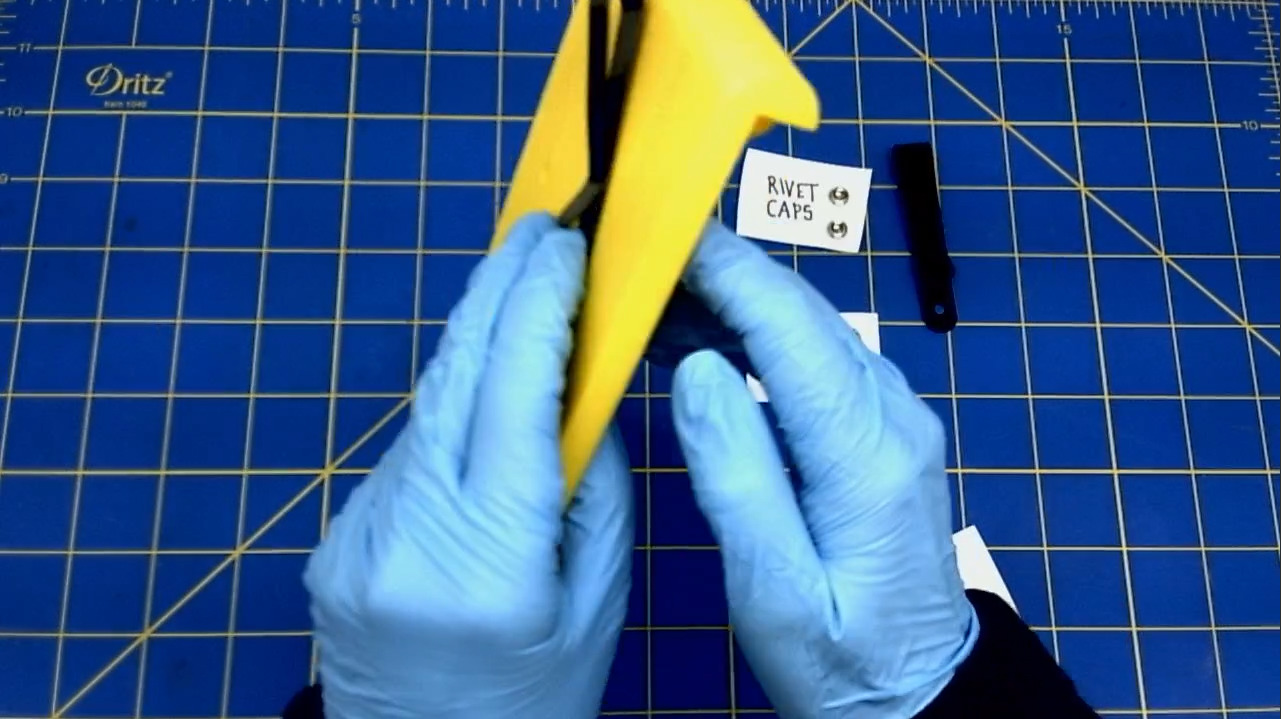
Glue the pen clip to the Knee Board
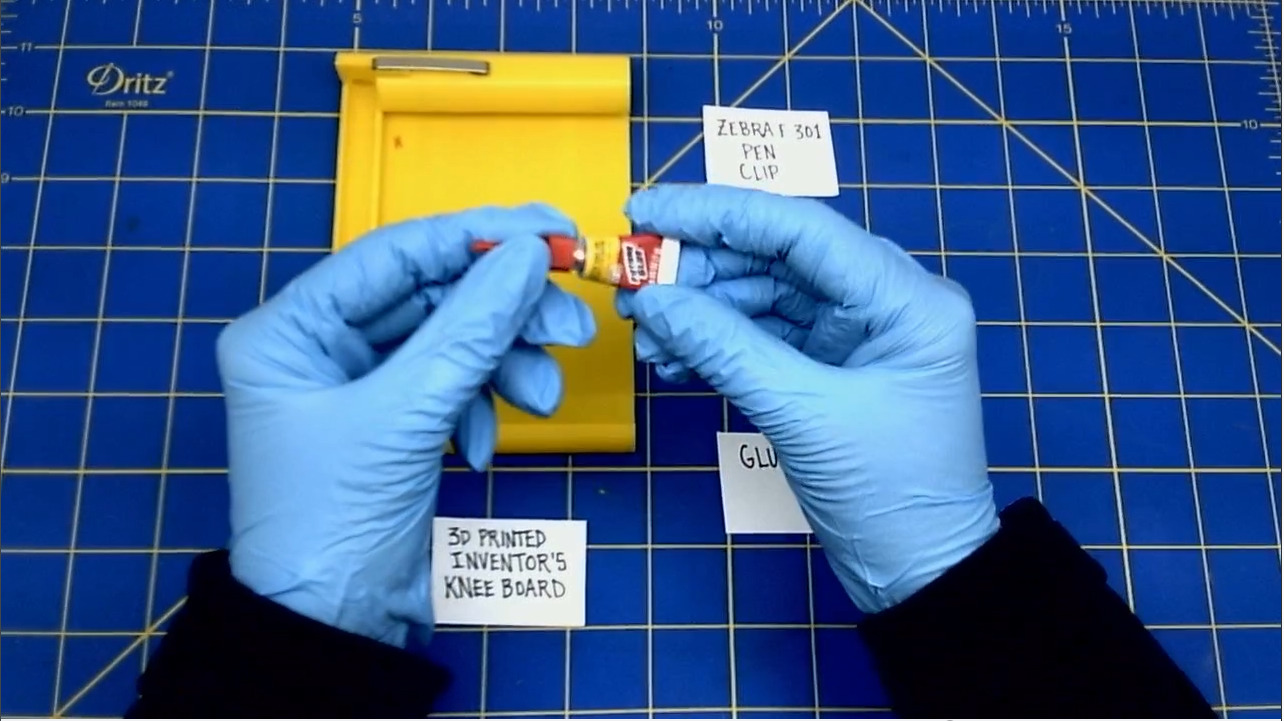
- Add a drop of Superglue where the clip meets the hole.
- Set aside the Knee Board while the glue dries.
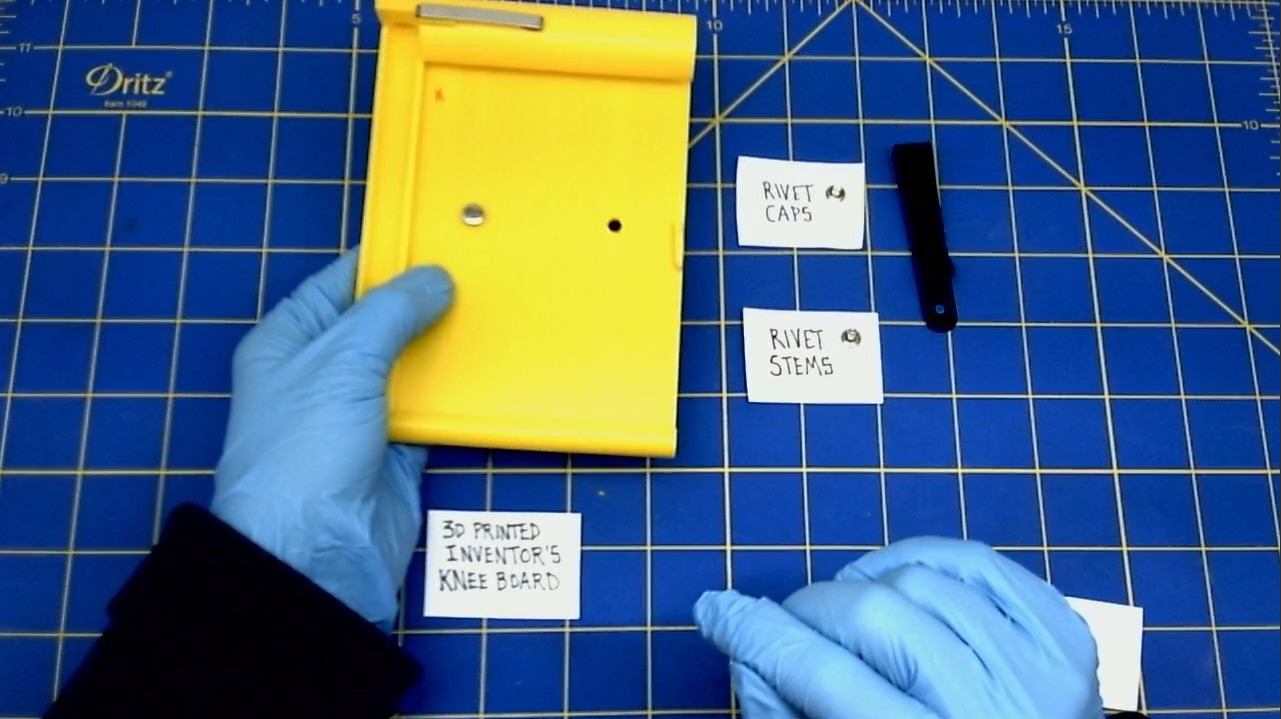
III. ADDING HARDWARE
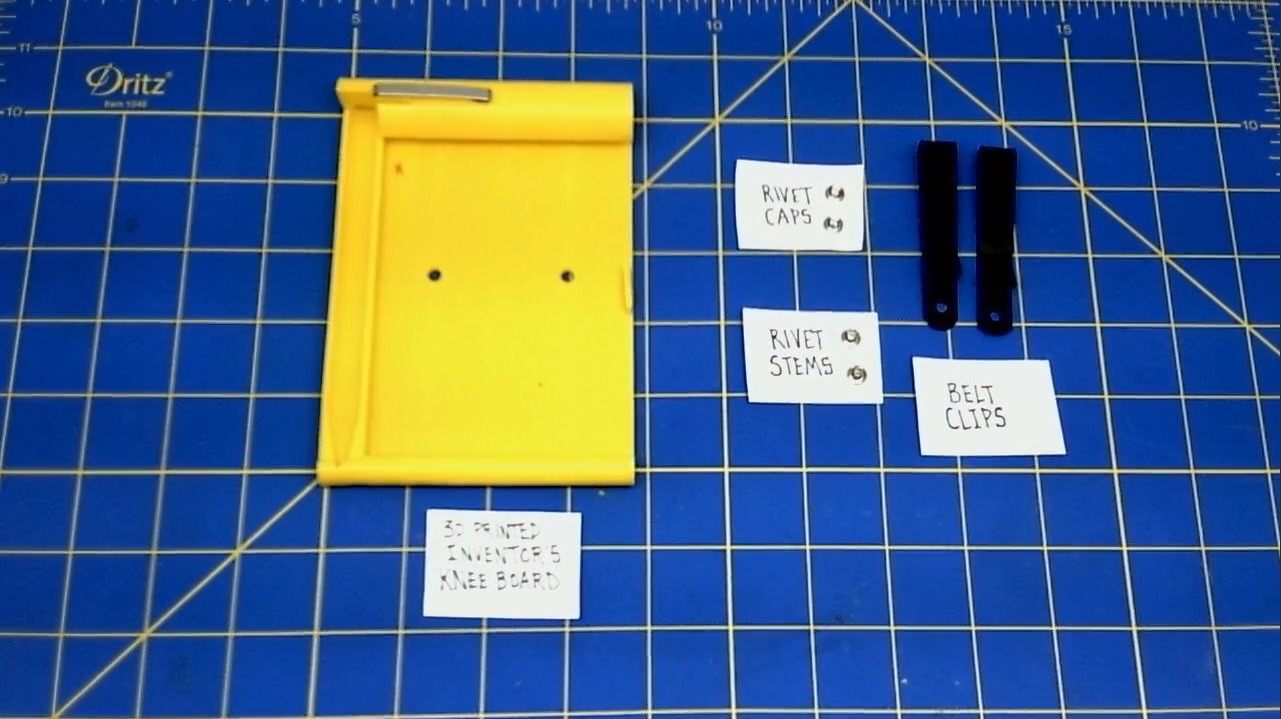
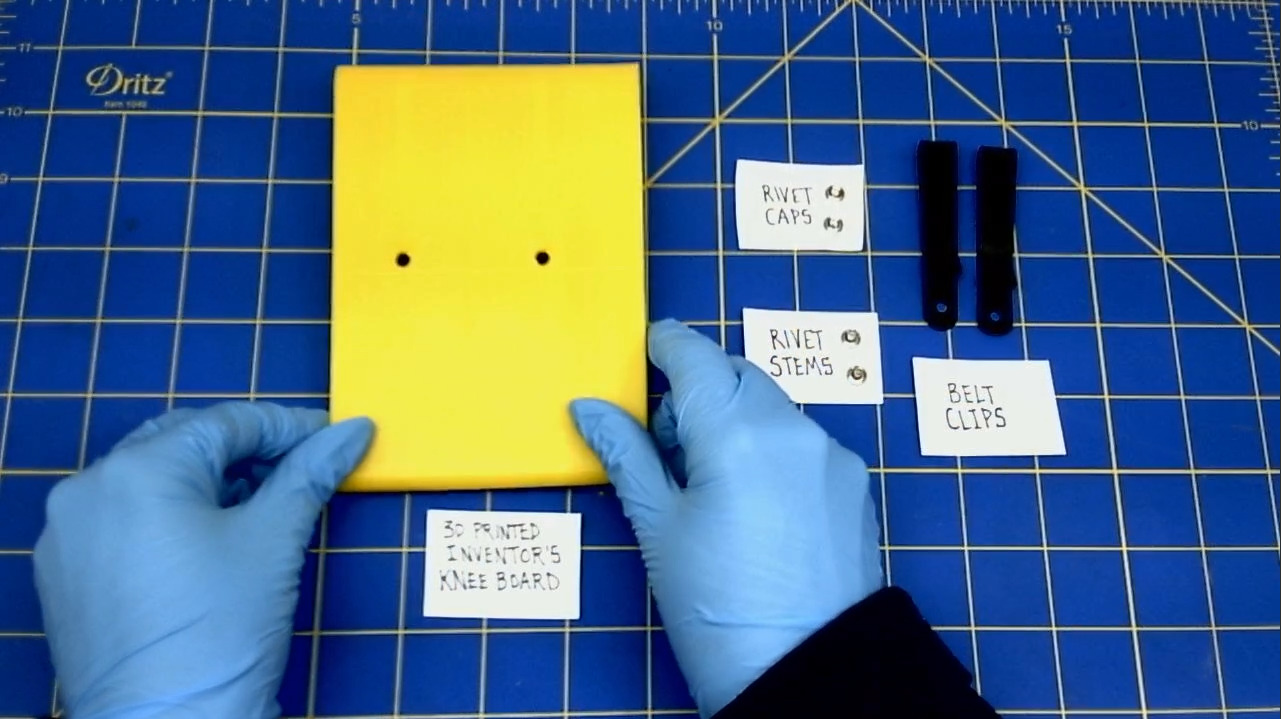
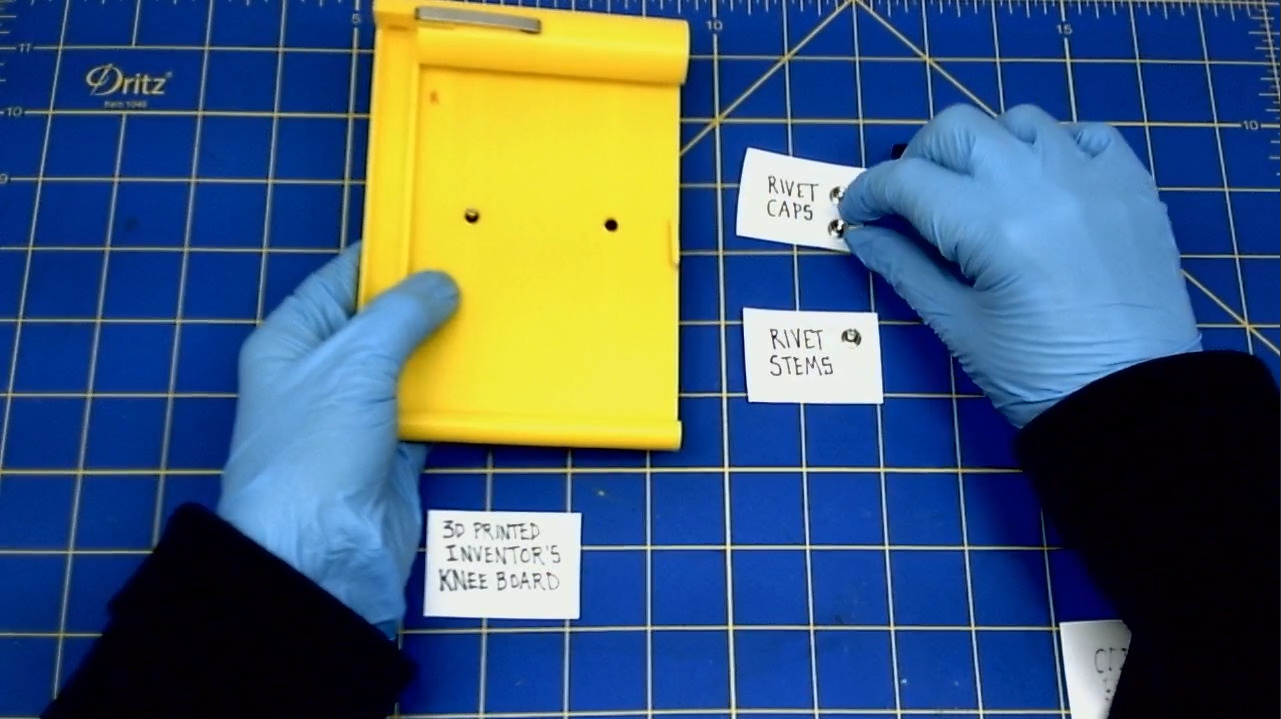
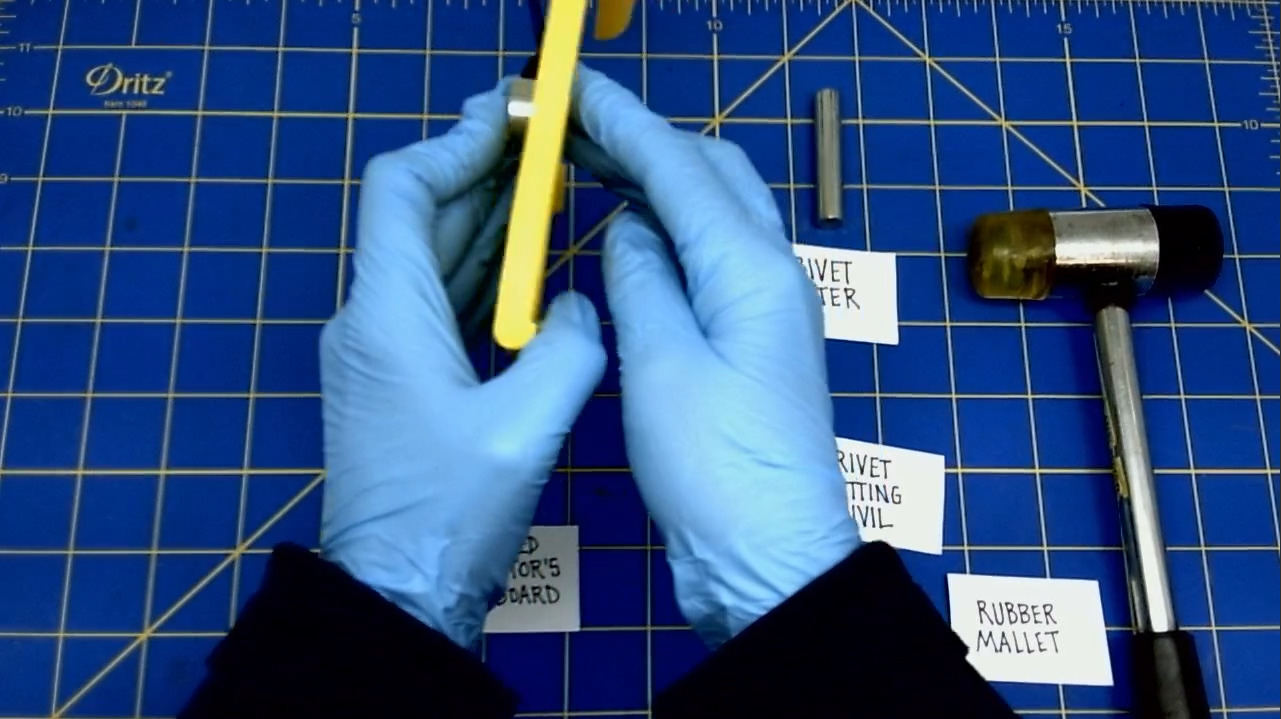
Install the metal clips on to the back of the Knee Board.
- Flip Knee Board over to begin.
- Place one belt clip on to the back of the Knee Board.
- Line up the hole of the belt clip to the hole in the Knee Board.

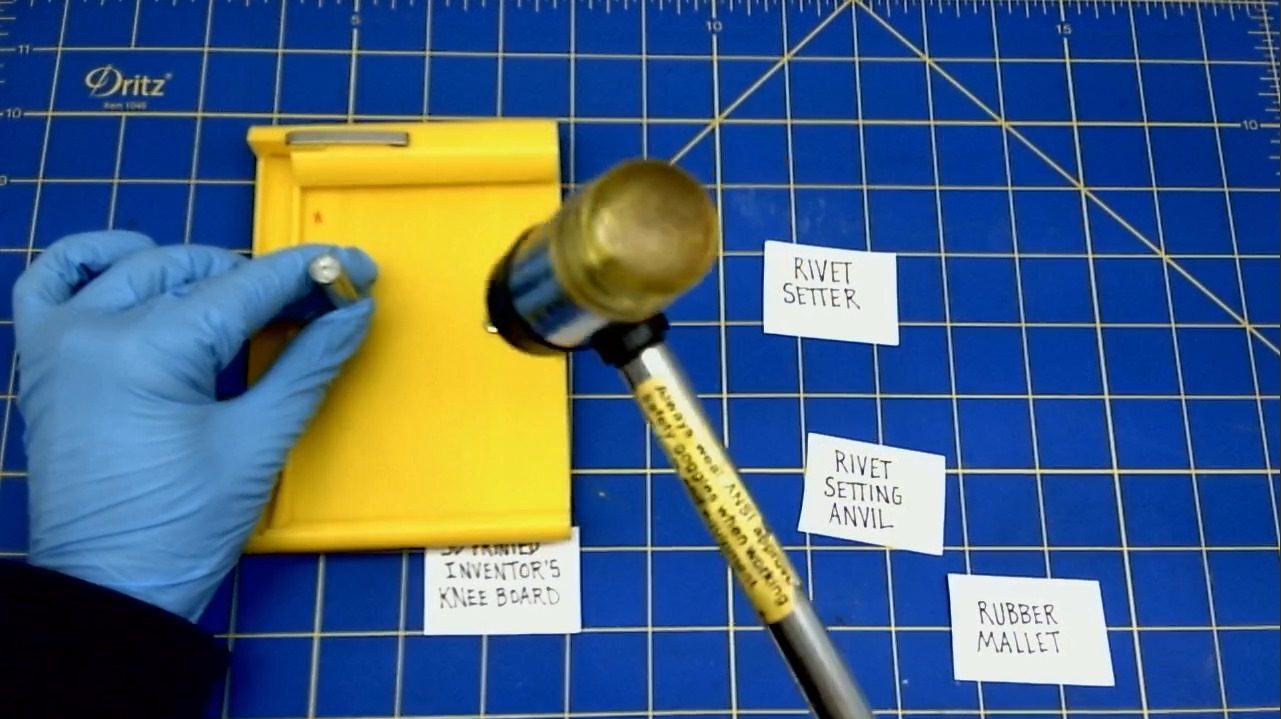
- Pick up the half of the rivet that has a stem.

- Insert that half of the rivet through the hole of the belt clip and the Knee Board.
- Press on the rivet and hold it in place, while you fip the Knee Board back over.
- Flip the Knee Board over, while holding the rivet in place.
- Pick up the rivet cap and place it on top of the rivet, who's stem is coming through the hole of the Knee Board.
- Snap the rivet cap on to the rivet stem, by pressing the cap firmly.
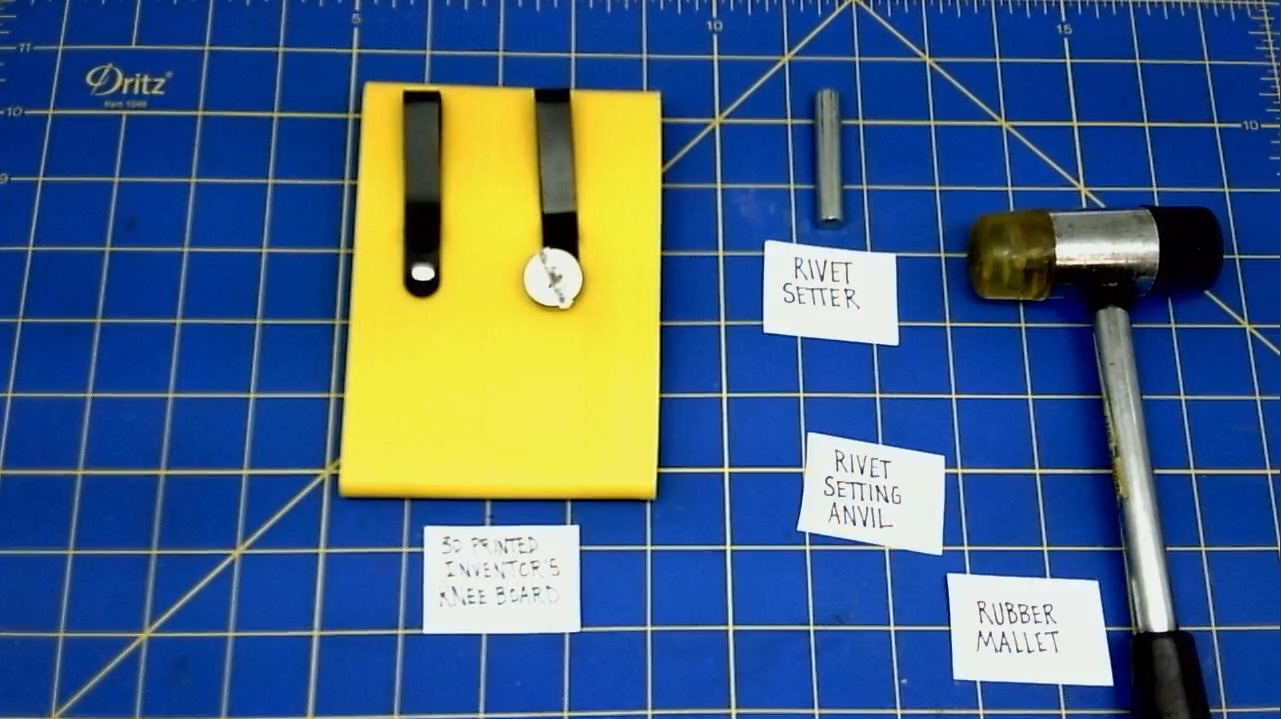
Repeat for the 2nd rivet and belt clip.
- When you have placed both rivets with the belt clips on to the Knee Board, flip the Knee Board over so that you can see both clips.
- This will prepare you for the next step.
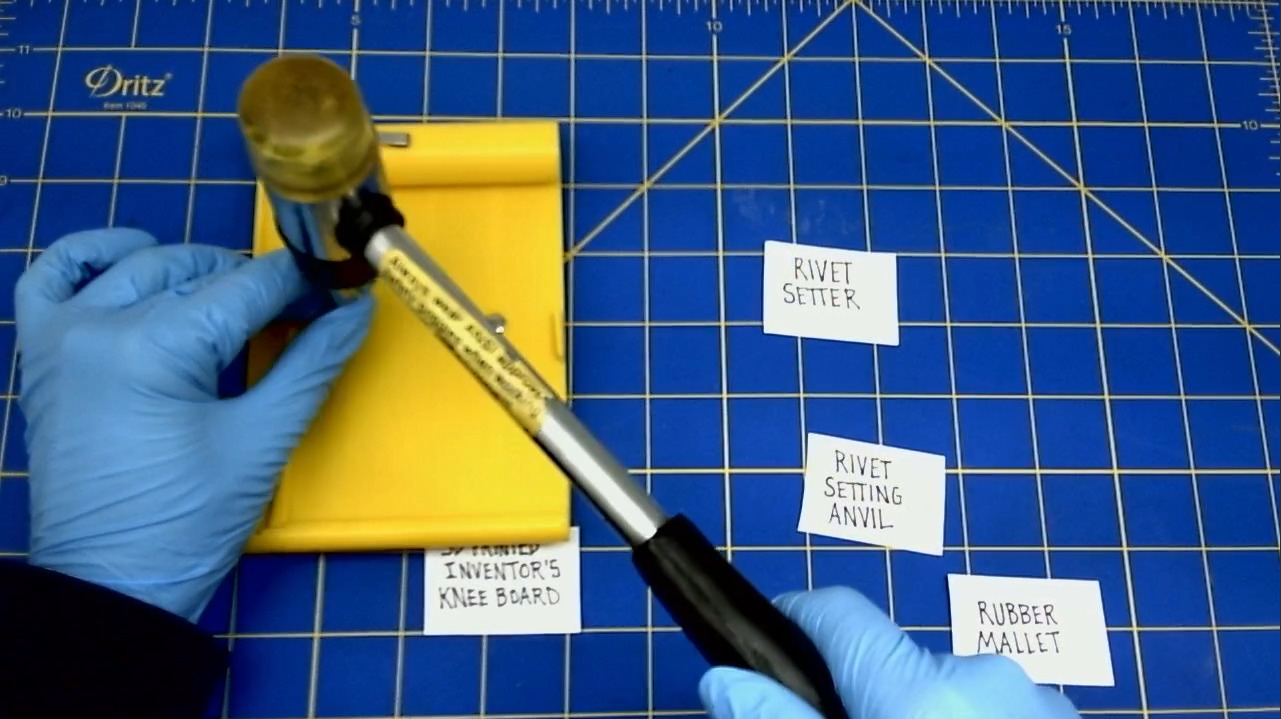
Set the rivets
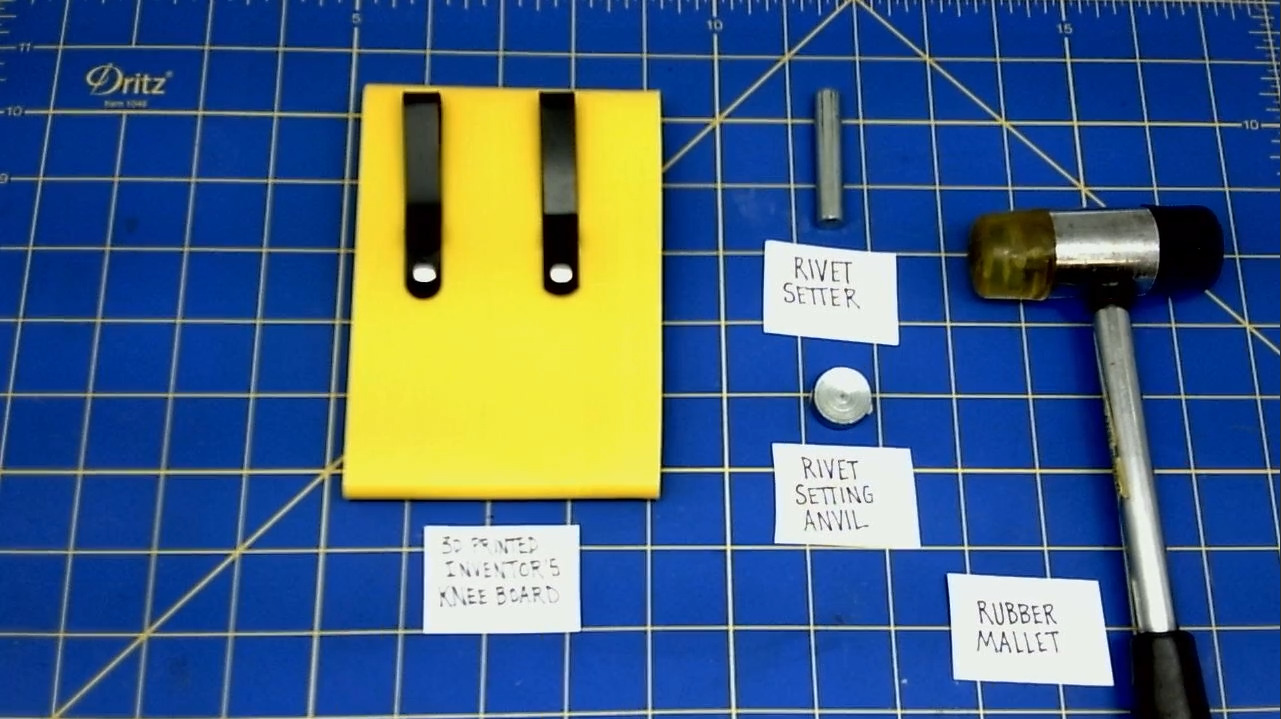
- Place the curved side of the rivet anvil on top of the rivet.
- Hold the anvil on to the rivet. Flip the Knee Board over, so that the front side is facing you.
- Place the post of the rivet setter on to the cap of the rivet on the front side of the Knee Board. Make sure the back side of the stem rivet is on top of the anvil.
- Strike the end of the Rivet Setter with a rubber mallet. Don't hit the Rivet Setter with too much force or too little force. You should practice setting rivets before you get to this step.
-
ATTENTION: This is the most dangerous part of the process, as you do risk damaging the Knee Board during this action.
-
Repeat these actions for the 2nd rivet and belt clip.
- Once the clips are riveted to the Knee Board, you're done!
IV. FINAL ASSEMBLY

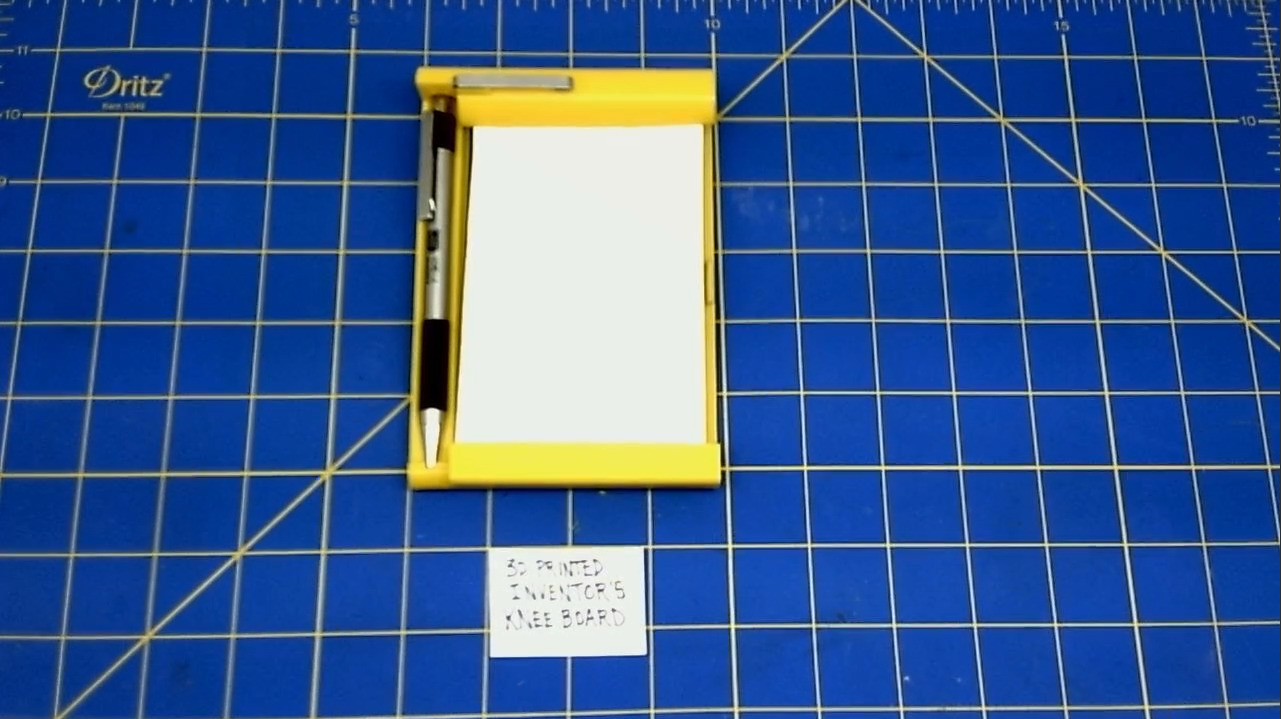
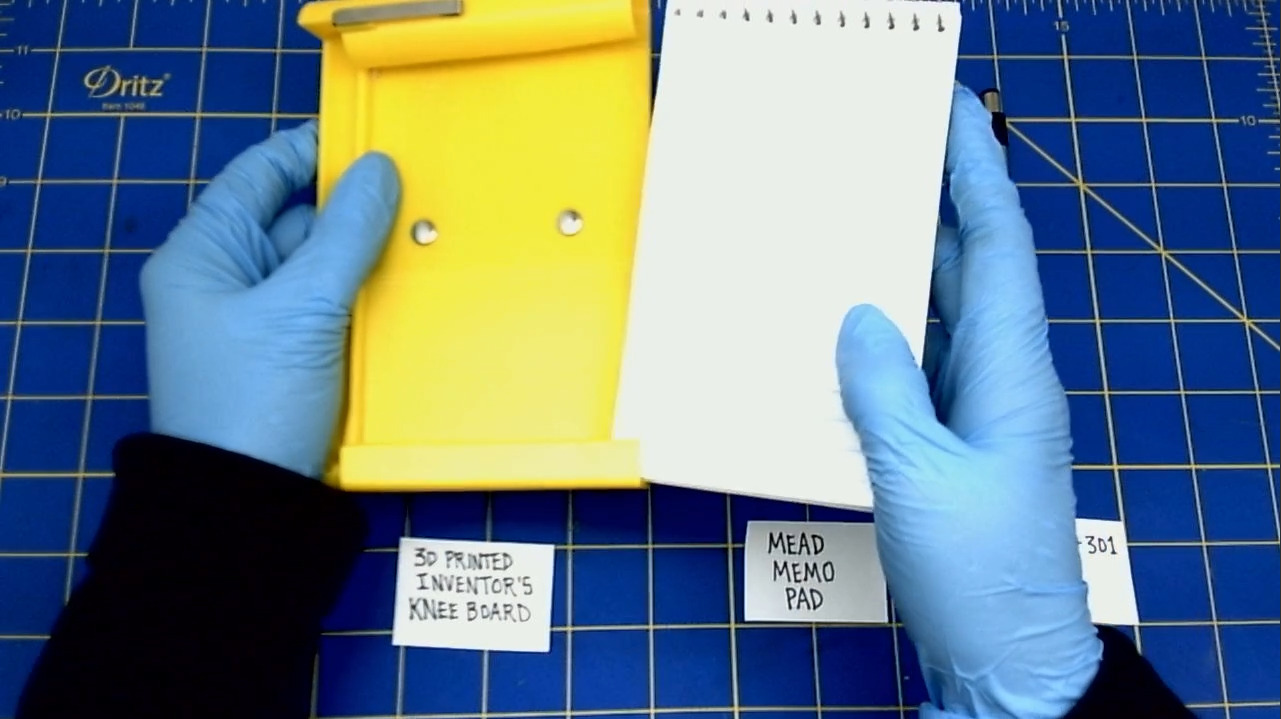
Install the MEAD notebook
- Take your MEAD notebook and flip the cover over.
- Slide the MEAD notebook into the Knee Board.
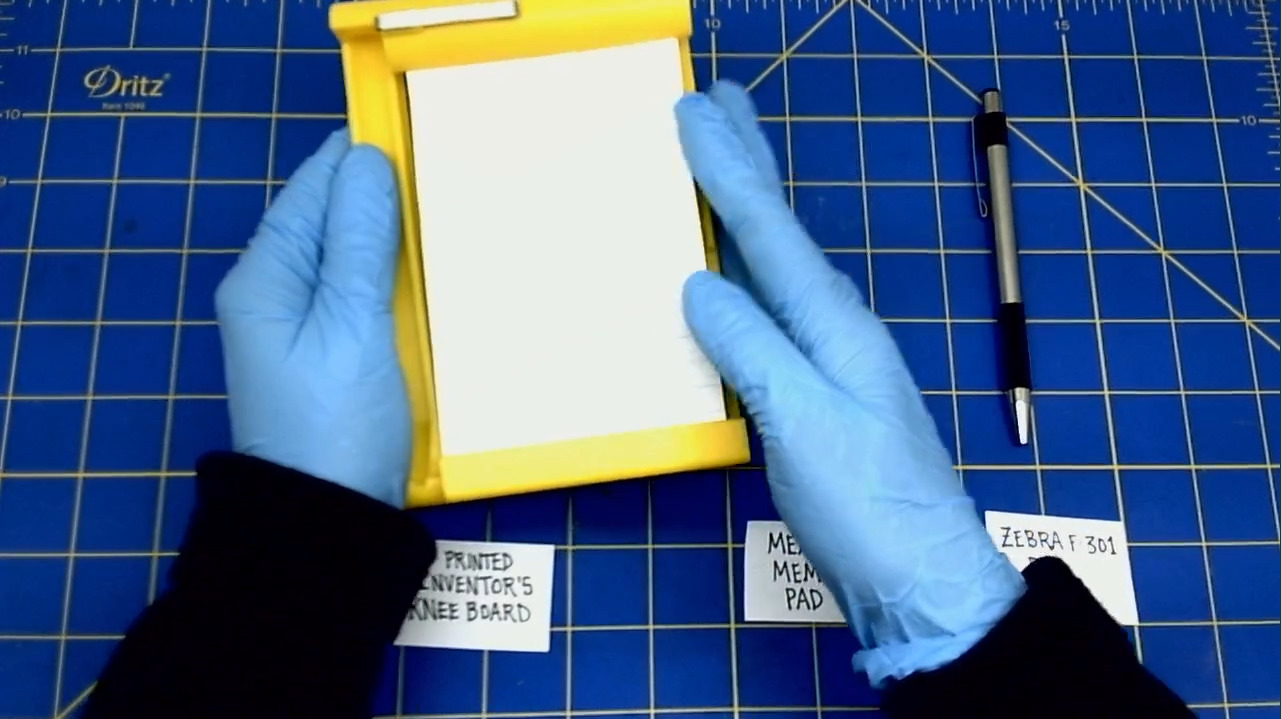
Install the ZEBRA F-301 Pen
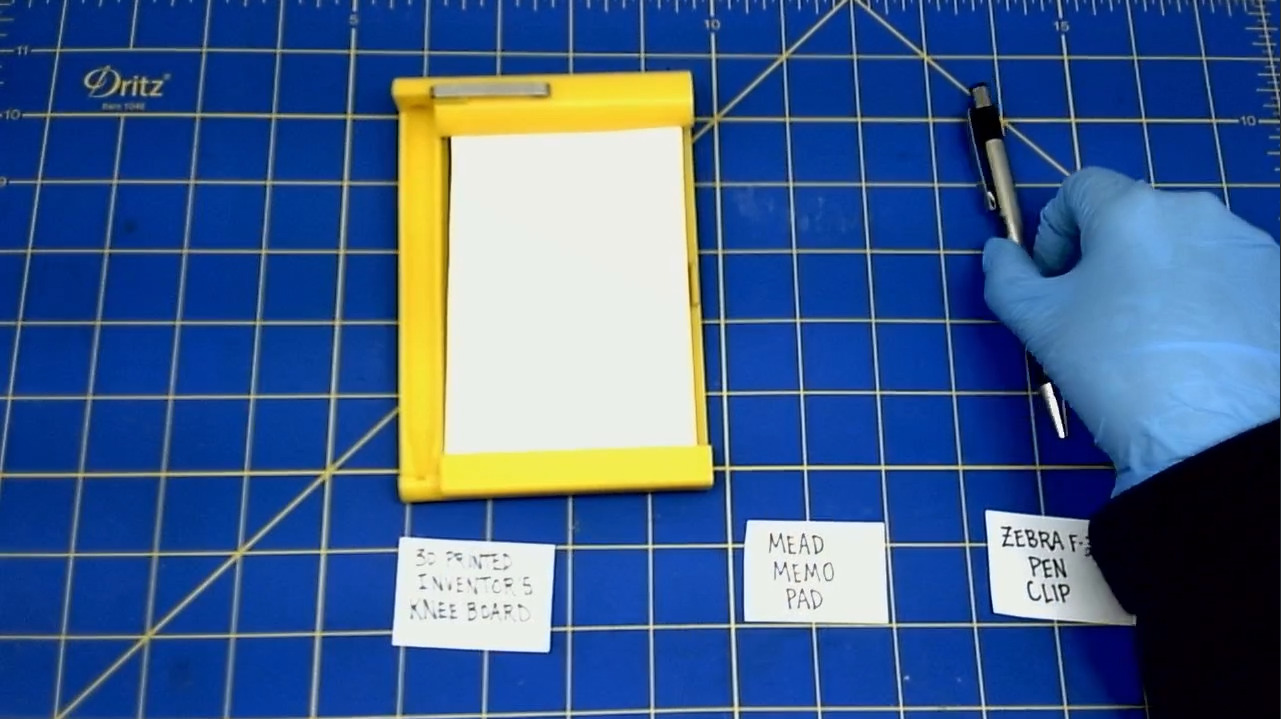
- Now, push the clicker part of the pen into the top of the pen holder. Depress the clicker half way.
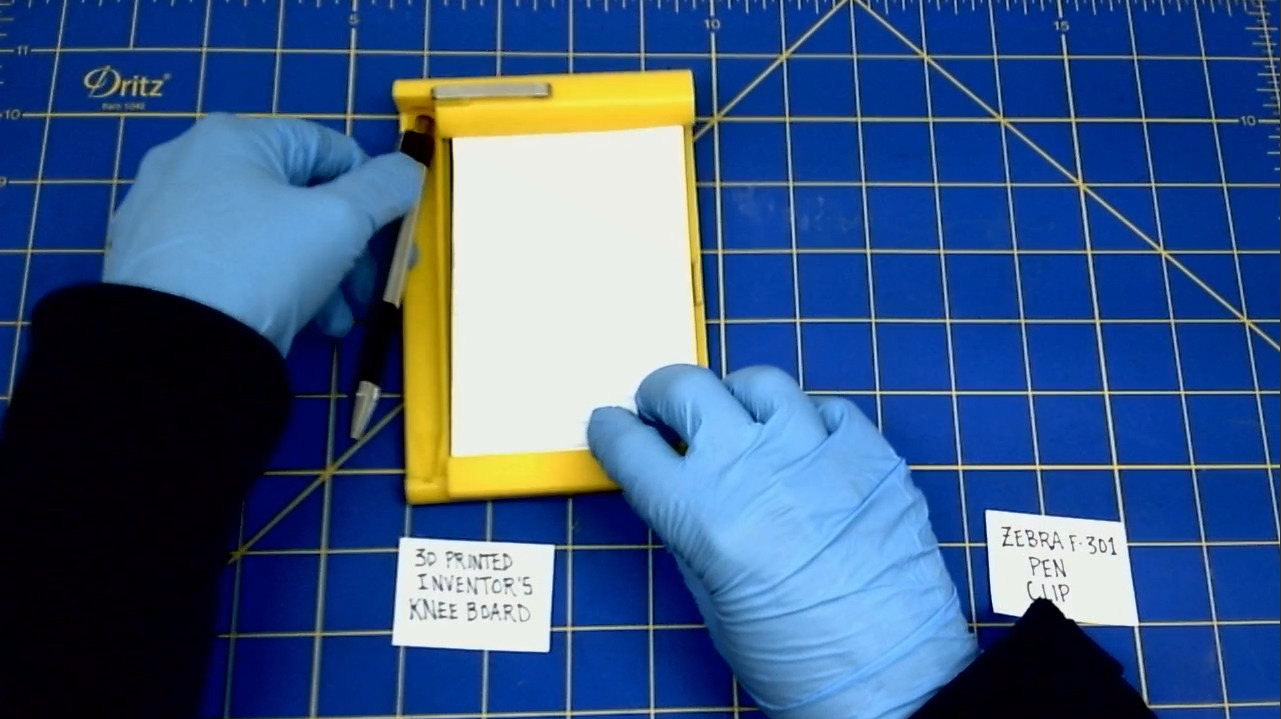
- Now, push the tip of the pen into the bottom of the pen holder until it clicks.
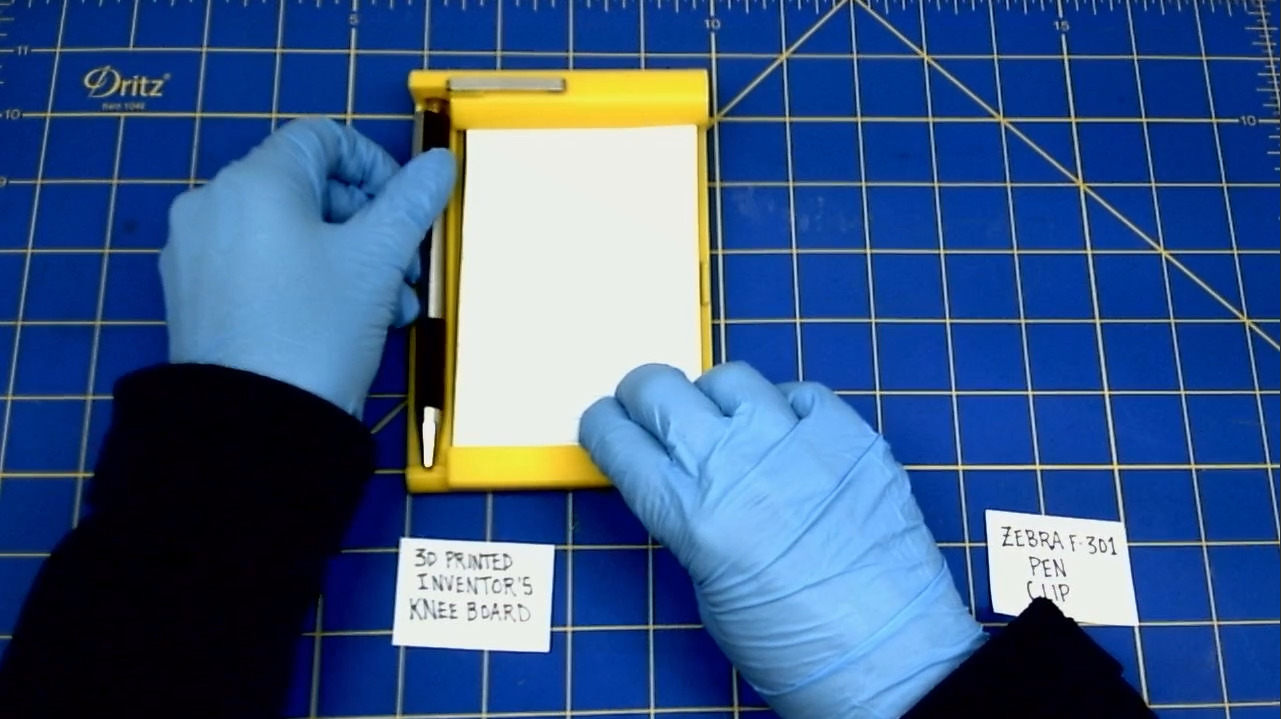
- Congratulations! You now have a working Inventor's Knee Board!